the Boss
How to Play Sett in League of Legends
A lane bully who turns damage taken into a shield and a true-damage punch.
Sett is a top-lane juggernaut who wins short trades with his passive regeneration, Q auto-attack reset and E stun. His W, Haymaker, converts damage taken into a shield and a powerful true-damage punch.
This guide covers the patch 26.21 top-lane build, the exact skill path used by the highest-sample data, practical E-W-R combos, lane matchups and the mistakes that make Sett feel weak. It is based on Data Dragon 16.21.1 and current U.GG and Lolalytics samples.
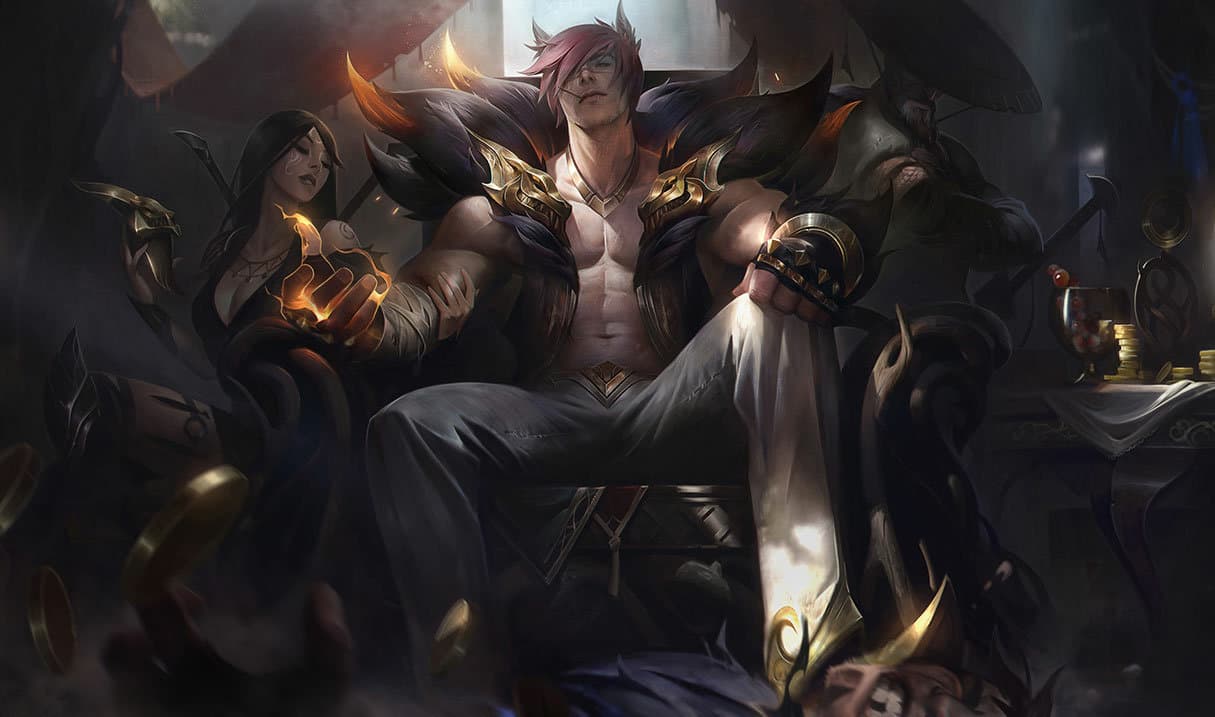
Sett
Top
Quick answer
Start W-E-Q, max Q first, then W, then E. Take Conqueror with Resolve secondaries, build Stridebreaker into Black Cleaver, and use E to stun before W so the true-damage center is unavoidable. Sett is strong in short trades and sidelane fights, but he is kited by ranged champions and should not waste Haymaker without grit.
Role
Top lane
Playstyle
Juggernaut and short-trade lane bully
Key mechanic
Haymaker converts stored damage into a shield and true damage
Win condition
Win the side lane, force a flank with R, and use E-W to peel or delete a carry
Beginner mistake
Casting W without grit or using E on only one side of the target
Abilities and tips

Pit Grit
Sett's basic attacks alternate between a left punch and a stronger, faster right punch. He also regenerates health based on missing health.
How to use it
- Use the right punch to last-hit and trade.
- Your passive makes long, low-health fights more survivable.
- Do not confuse regeneration with immunity; burst still kills you.
Common mistake: Trading at low health without tracking the enemy's burst.

Knuckle Down
Sett's next two attacks deal bonus damage based on the target's maximum health, and he gains movement speed toward enemy champions.
How to use it
- Q is an auto-attack reset; use it immediately after an auto.
- The speed helps you stay on a fleeing target.
- Against high-health tanks, Q is a reliable damage source.
Common mistake: Using Q on minions and then having no reset for the champion trade.

Haymaker
Sett stores damage taken as grit. On cast, he consumes it for a shield and punches an area, dealing true damage in the center and physical damage at the sides.
How to use it
- Let the enemy hit you first so the shield and punch are larger.
- The center is the real threat; aim it at the target's current position.
- You can Flash during the windup to reposition the punch.
Common mistake: Panic-casting W at full health with almost no grit.

Facebreaker
Sett pulls enemies from opposite sides together, damaging and stunning them. Enemies on only one side are slowed instead.
How to use it
- Position so the enemy is between you and a minion or wall.
- E stun sets up the W center.
- Use E to interrupt dashes and channeled abilities.
Common mistake: Using E when all enemies are on one side and expecting a stun.

The Show Stopper
Sett carries an enemy champion through the air and slams them down, damaging and slowing nearby enemies.
How to use it
- R can isolate a carry or peel a diver away from your team.
- Use R to set up E on the landing zone.
- Do not R a tank into your own backline.
Common mistake: Using R as a pure damage button and forgetting where the target will land.
Skill order
Level by level
Q is maxed first for reliable max-health damage and the movement speed to stay on targets.
W is maxed second because the shield and true-damage punch scale with ranks and decide extended fights.
E is maxed last; one point is enough for the stun and disruption early.
The W-E-Q start is the most common patch 26.21 path in the U.GG and Lolalytics samples. E start is a valid lane-specific choice when you need level 1 trading or a stun to secure a jungle gank.
Runes
Conqueror bruiser
Conqueror is the default Sett keystone because his extended trades and Q resets stack it quickly. Resolve secondary improves his lane durability and sidelane pressure.

Primary tree
Precision
Keystone

Conqueror
Heals and adds damage in the long trades Sett wants.

Triumph
Takedown healing keeps you alive in 1v2 sidelane fights.

Legend: Alacrity
Attack speed makes Q resets and right punches smoother.

Last Stand
Sett often fights at low health, where the bonus damage is active.

Secondary tree
Resolve

Second Wind
Best default against poke and short trades.

Overgrowth
Bonus health improves passive regeneration, W shield and frontline durability.
Alternatives
- The page above is a common patch 26.21 setup, not the only correct one.
- Into ranged poke, Second Wind and Doran's Shield are more valuable than raw damage.
- If you are the only frontline, Overgrowth and Sterak's Gage are usually better than more offense.
Summoner spells

Flash
Essential for E stuns, R engages and escaping after a sidelane fight.
Always take Flash.

Ignite
Adds kill pressure in melee lanes and helps finish targets before they escape.
Teleport is better in lanes where you expect to be poked out or need to match a split-pusher.
Builds
Stridebreaker bruiser
Stridebreaker gives Sett the sticking power he lacks, while Black Cleaver and boots round out a durable sidelane core. This is the default build for most top-lane games.
Starting items

Doran's Shield
Safest start against poke and ranged tops.

Health Potion
Extra sustain for the first waves.
Doran's Blade plus two Health Potions is the most common Lolalytics start on patch 26.21 and is better when you can trade aggressively. Doran's Shield is the safer option against poke.
Core items

Stridebreaker
Damage, health, attack speed and a slow that helps Sett stay on targets.

Black Cleaver
Armor shred for your physical damage and more health for extended fights.
Boots

Boots of Swiftness
The default boots in the Lolalytics core; they help against kiting.

Plated Steelcaps
Armor against auto-attack-heavy top laners and AD comps.

Mercury's Treads
Tenacity and magic resist against crowd control and AP.
Situational items

Sterak's Gage
Anti-burst shield and tenacity for teamfights.

Spear of Shojin
Ability haste and more Q and W uptime in extended fights.

Warmog's Armor
Sidelane sustain and reset health between fights.

Hullbreaker
Split-push pressure when you can force a sidelane.

Death's Dance
Physical damage mitigation and healing in skirmishes.

Thornmail
Anti-heal and armor against auto-attack-heavy teams.

Force of Nature
Magic resist and movement speed against AP burst.
- Stridebreaker is the core spike. Do not delay it for a luxury defensive item unless you are already losing lane badly.
- Black Cleaver is excellent into armor and tanks; if the enemy has no frontline, Sterak's or Shojin can come earlier.
- Hullbreaker is a sidelane choice, not a mandatory teamfight item.
Frontline and anti-burst
When your team needs a frontline and the enemy has heavy burst, delay Black Cleaver and prioritize Sterak's, Shojin and resistances. You deal less damage but can absorb the first engage.
Starting items
Doran's Shield
The safest start when you expect to be poked.
Health Potion
Sustain for the first waves.
Core items
Stridebreaker
Still the best first item for sticking power.
Sterak's Gage
The anti-burst shield that lets you survive the first engage.
Boots
Plated Steelcaps
The default in heavy AD games.
Mercury's Treads
The default in heavy AP or crowd-control games.
Situational items
Spear of Shojin
More ability uptime when you are the main frontline.
Warmog's Armor
Health and regeneration for long fights.
Thornmail
Anti-heal and armor.
Force of Nature
Magic resist and movement speed.

Kaenic Rookern
A strong magic-damage shield against burst mages.

Randuin's Omen
Critical strike reduction against AD carries.
- This path is for games where your team already has enough damage but needs a durable first engage.
- Do not skip Stridebreaker entirely; Sett still needs the slow to function.
- If you are behind, build resistances before damage. A dead Sett deals no damage.
Combos
Standard E-W trade
- When to use it
- A short trade when the enemy is between you and a minion or wall.
- How to execute
- E pulls and stuns, Q resets your auto, auto twice, then W with the grit you stored. Aim the center at the target's landing position.
Using W before the enemy has traded into you, so the shield and punch are small.
Watch out: If E only hits one side, it slows instead of stunning; reposition before committing.
R-E teamfight setup
- When to use it
- A teamfight engage or sidelane pick when you can isolate a carry.
- How to execute
- R the target into your team or away from theirs, E on landing to stun nearby enemies, Q for max-health damage, then W with the grit from the landing fight.
R'ing a tank into your own backline and giving them a free engage.
Watch out: Check where the target will land before using R; the slam can displace them away from your follow-up.
Flash E pick
- When to use it
- Punish a carry who is just outside E range.
- How to execute
- Flash into E range, immediately E to stun, Q for the auto reset and W for the true-damage finish.
Flashing without E ready, or using the combo without enough grit.
Watch out: This spends your only reliable escape; do not use it without vision of the enemy jungler.
Haymaker reposition
- When to use it
- Reposition Haymaker's true-damage center onto a target who is walking out of range.
- How to execute
- Start W, then Flash during the windup to place the center on the target.
Flashing after the punch has already been released.
Watch out: This is a high-commitment mechanic; practice it in the practice tool first.
Laning phase: short trades, then pressure
Sett's lane plan is built on short trades. Use E to stun, Q to reset your auto and W to absorb the response. Do not start with W; let the enemy commit damage first so the shield and punch are worth the cooldown.
Against ranged champions, give up early CS rather than walking into free poke. Doran's Shield, Second Wind and your passive regeneration let you survive until Stridebreaker. Against melee champions, contest the wave with E-Q trades and use the push to set up a cheater recall or a jungle dive.
At level 6, R gives you a dive and skirmish tool. Use it to isolate the enemy top laner under their tower only when you know where the enemy jungler is. Sett wins 1v2s when he has grit and a wall, not when he is caught in the open.
- Do not E the wave if you need it to escape a gank.
- Save W for the enemy's burst, not for a random poke trade.
- A slow push is better than a fast push when you want to dive or roam.
Mid game: make the sidelane work
Sett's mid game is about sidelane pressure and forcing rotations. Push a side wave, threaten the tower, and make the enemy send someone to answer. When they do, your team can take an objective or you can flank with R.
In skirmishes, use E to peel for your carry or to stun multiple enemies. W is both defense and offense: the shield buys time, and the center punishes anyone who stands still. Do not chase ranged champions through open ground; let them come to you or force them into a wall.
- Track your grit before you commit to W.
- Use R to take the enemy carry out of the fight, not just for damage.
- Hullbreaker is for games where you can actually pressure a sidelane.
Teamfights: frontline, then isolate
Sett is a frontline, but he is not unkillable. Start by peeling for your carry with E and R, then look for a Flash E on the enemy backline once their frontline is committed. If you are the primary engage, make sure your team can follow before you R in.
Haymaker is strongest after the enemy has spent damage on you. Do not waste it at the start of the fight just because it is off cooldown. A max-grit W can decide a teamfight; an empty W usually just delays your death.
- E stun multiple targets if possible.
- R the diver away from your carry.
- Do not R a tank into your own team.
Matchups
Win rates are from the U.GG patch 26.21 Emerald+ top-lane sample. Lolalytics lists Aatrox, Warwick and Ornn among Sett's hardest counters; U.GG highlights Tryndamere, Aatrox and Vayne. Treat these as signals, not fixed rules.
Hard matchups
Tryndamere
46.5% WR · 1,083 games
Tryndamere can match your sidelane and ignore your burst with Undying Rage. Take short trades, do not chase him through his ultimate, and buy armor or Thornmail if he is the win condition.
Aatrox
46.6% WR · 2,586 games
Aatrox outranges you with his Q and sustains through your trades. Use E to interrupt his Q3 or dash, and avoid fighting in his sweet spots. Executioner's Calling or Thornmail can help.

Vayne
46.7% WR · 467 games
Vayne kites you with Tumble and Silver Bolts. Do not chase through open ground; force her near a wall, use E to stun, and ask for jungle pressure.
Favorable matchups

Rumble
Rumble wants to stand and burn you, which lets you store grit and land a big W. Use E to keep him in your range and avoid fighting inside his Equalizer.
Tahm Kench
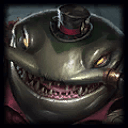
Tahm Kench is a long trade, and Sett likes long trades. Use Q max-health damage and save W for his devour or shield timing.

K'Sante
K'Sante has to commit to melee range. E his dash, punish with Q-W, and do not let him R you through a wall without a follow-up plan.
Common mistakes to fix
Casting W with no grit.
Using E on one side and expecting a stun.
Chasing ranged champions through open ground.
R'ing a tank into your own backline.
Building full damage when your team needs a frontline.
Ignoring the right-punch timing and losing early trades.
Practice plan
Grit drill
- In the practice tool, let a dummy hit you, then cast W at different grit amounts.
- Compare the shield and center damage.
- Practice holding W until the enemy commits, not until it is off cooldown.
E-W center drill
- Place two dummies on opposite sides.
- E them together and immediately W the center.
- Repeat until the stun-to-punch timing is automatic.
R-E setup
- R a dummy toward a wall or your team.
- E on landing to stun the nearby target.
- Practice choosing a landing zone that keeps the enemy in your team's range.
Frequently asked questions
Q:Is Sett easy to play?
Sett's entry barrier is low, but his ceiling is medium. The basic E-Q-W trade is simple; the hard part is managing grit, choosing R targets and not getting kited.
Q:What is Sett's best build in patch 26.21?
Stridebreaker into Black Cleaver is the standard core. Sterak's Gage, Spear of Shojin and Warmog's are common follow-ups. Hullbreaker is for sidelane pressure, not every game.
Q:What skill order should I use?
Start W-E-Q, max Q, then W, then E, and take R at 6, 11 and 16. That is the most common path in the patch 26.21 samples.
Q:How do I use Sett's W correctly?
Store grit by taking damage, then use the shield to survive the enemy's burst and aim the center at their current position. Do not cast it at full health with no grit.
Q:Is Sett good in low elo?
Yes. His straightforward trades and sidelane strength are effective in low elo, but he becomes harder to play as enemies learn to kite and dodge Haymaker.
About the stats
U.GG and Lolalytics use different samples and ranking methods. Both snapshots are from patch 26.21, Emerald+ and global ranked Solo/Duo. Sett's win rate is strong, but his pick rate and ban rate are moderate, so the sample is smaller than Katarina's.
Sources
Related champion guides

Want to test this champion?
Spin the League Roulette wheel, get a random champion and put your new knowledge into practice.